
Hanging wall art sounds simple—until you’re standing there with a hammer, a crooked frame, and a wall full of tiny holes you regret instantly. We’ve all been there. The truth is, designers don’t magically avoid mistakes—they just follow a few smart rules that make the process feel effortless.
The good news? You can hang wall art like a designer too—without stress, measuring drama, or second-guessing every nail.
Let’s break it down step by step so your walls look polished, balanced, and intentional every time.
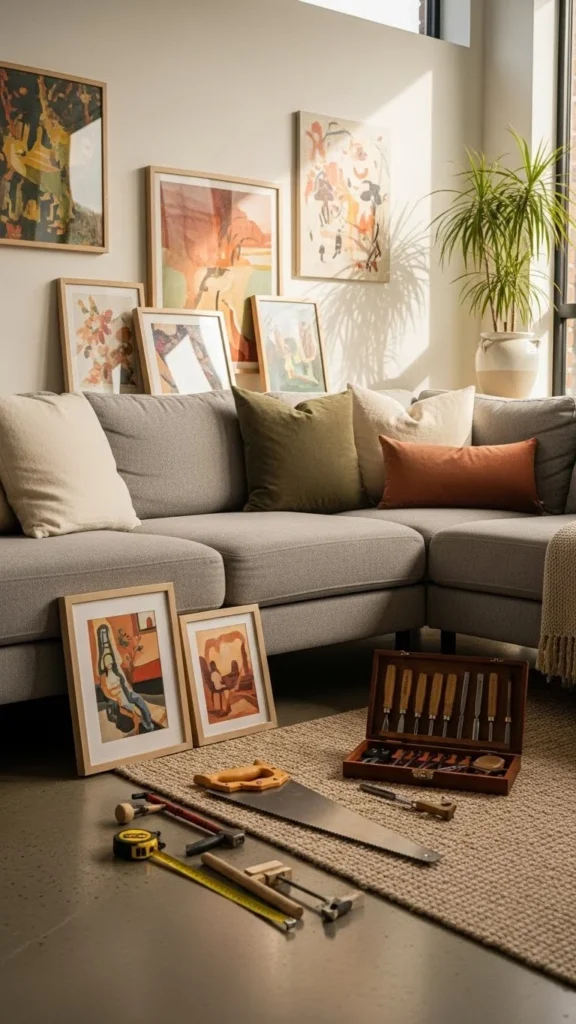
Start With a Plan (Not a Hammer)
The biggest mistake people make is hanging art too fast. Designers always plan first.
Before touching the wall:
- Decide where the art will go
- Choose one focal wall at a time
- Know whether you want one statement piece or a group
Helpful planning tricks:
- Lean the art against the wall to preview scale
- Take a photo and view it from a distance
- Use paper cutouts the same size as your frames and tape them up
This simple step alone can save you from unnecessary holes and frustration.
Follow the Golden Height Rule
Designers live by one golden rule: hang art at eye level.
The standard guideline:
- The center of the artwork should be 57–60 inches from the floor
If you’re hanging art above furniture:
- Leave 6–8 inches between the furniture and the bottom of the frame
- The art should feel connected to the furniture, not floating above it
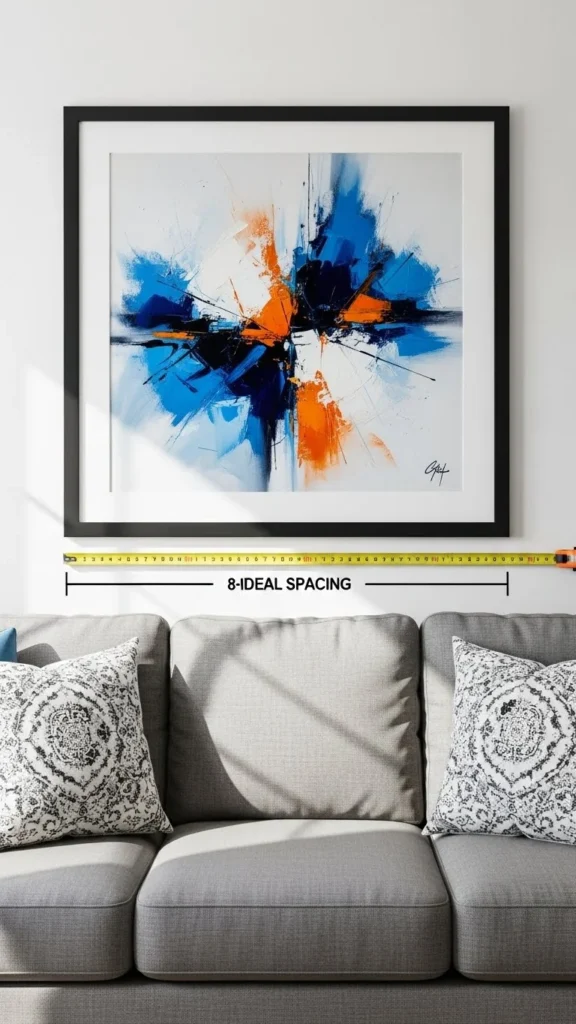
This rule works for living rooms, bedrooms, hallways—almost everywhere.
Get the Scale Right (This Changes Everything)
Too-small art on a big wall is one of the most common design mistakes. Designers always think in proportion.
Here’s how to get it right:
- Art above furniture should be ⅔ to ¾ the width of the furniture
- Large blank walls need either:
- One oversized piece, or
- A gallery wall
Quick tip:
If the wall still looks empty after hanging art, it’s probably too small—not badly placed.
Master the Gallery Wall Without Overthinking
Gallery walls look impressive, but they don’t have to be complicated.
Designer-approved layout styles:
- Grid: clean, modern, evenly spaced
- Organic: relaxed, mixed sizes, slightly playful
- Linear: frames aligned at the top or bottom
Before hanging:
- Arrange everything on the floor first
- Take a photo once it looks balanced
- Start hanging from the center piece and work outward
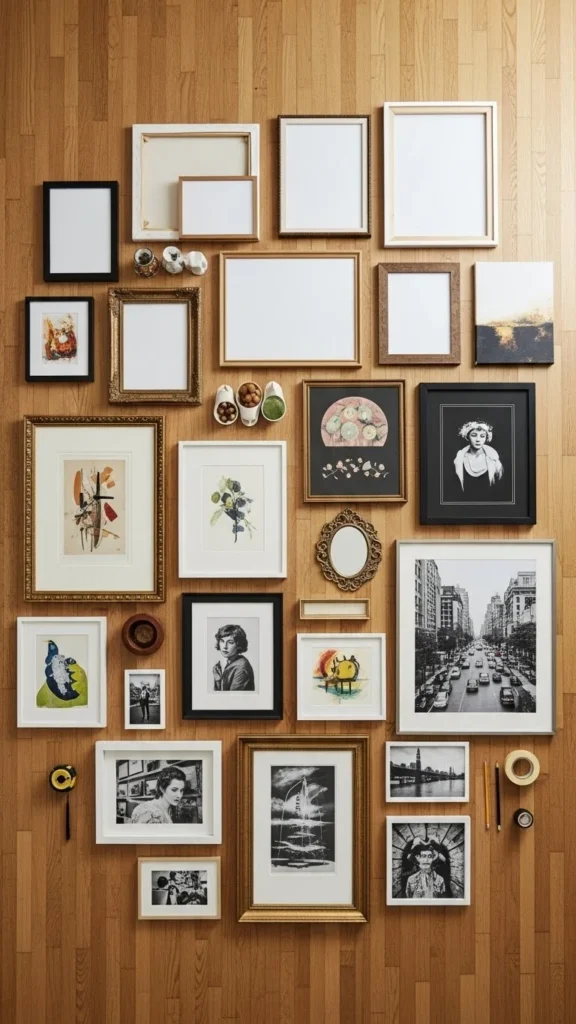
Spacing tip:
Keep 2–3 inches between frames for a polished look.
Use the Right Tools (They Matter More Than You Think)
Designers don’t rely on guesswork—they use the right tools.
Must-haves:
- Measuring tape
- Level (or phone level app)
- Painter’s tape
- Proper wall hooks or anchors
Stress-free trick:
Use painter’s tape to mark:
- Frame edges
- Center points
- Nail placement
This lets you adjust before committing—and protects your wall.
Align Art With the Room, Not the Ceiling
A common mistake is aligning art with the ceiling height instead of the room’s visual balance.
Designers align art with:
- Furniture
- Other wall elements
- Sight lines when entering the room
For example:
- In hallways, align frames along a consistent center line
- On staircases, follow the slope of the stairs
- In dining rooms, center art with the table—not the wall
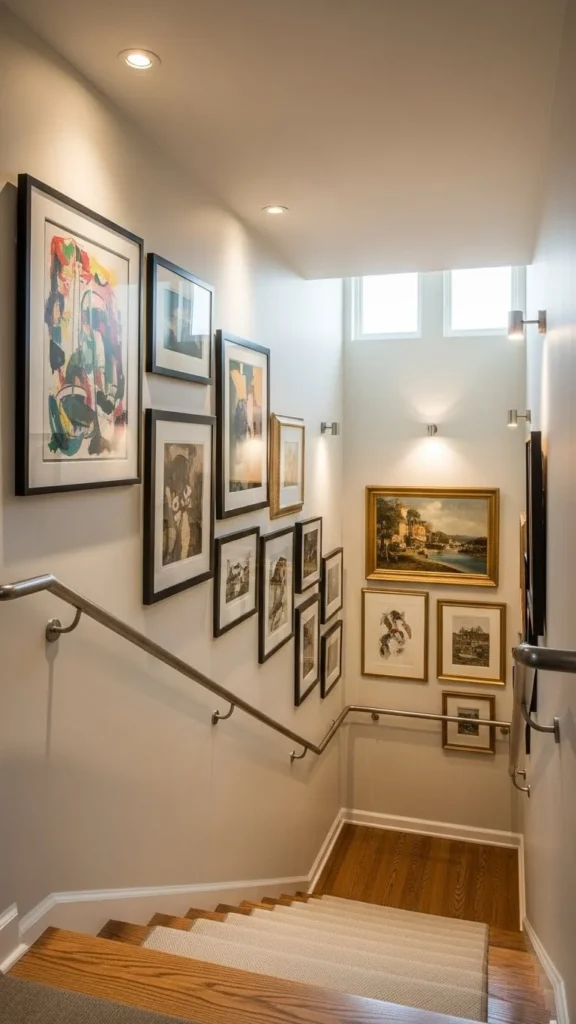
This makes the art feel intentional and tailored to the space.
Mix Frames and Styles Like a Pro
Designer walls rarely use identical frames everywhere—but they do have cohesion.
Easy ways to mix frames successfully:
- Stick to one metal tone or wood finish
- Repeat colors across different artworks
- Mix sizes but keep a consistent spacing
You can combine:
- Photos + abstract art
- Black frames + light mats
- Minimal art + textured pieces
The goal is contrast with harmony.
Step Back and Trust Your Eye
Once everything is up, step back.
Ask yourself:
- Does the wall feel balanced?
- Does anything feel too high or too tight?
- Does it connect visually to the furniture?
Design secret:
If something feels off, it probably is. Small adjustments—an inch up or down—can make a huge difference.
Final Takeaway: Designer Walls Are About Confidence
Hanging wall art like a designer isn’t about perfection—it’s about planning, proportion, and patience. When you slow down and follow a few simple rules, your walls instantly feel polished and intentional.
✨ Save this guide for later and hang your next wall with confidence!
Leave a Reply