
Gallery walls have a magical way of turning plain walls into something personal, layered, and full of life. But let’s be honest—when done wrong, they can feel messy, overwhelming, or unfinished. The secret to an effortlessly stylish gallery wall isn’t perfection. It’s balance, planning, and a little creativity.
If you’ve been afraid to start—or you’ve tried before and didn’t love the result—this guide will walk you through how to create a gallery wall that looks intentional, stylish, and totally Pinterest-worthy.
Start With a Vision, Not Random Frames
Before collecting frames or grabbing a hammer, decide on the overall feel of your gallery wall.
Ask yourself:
- Do I want it modern, cozy, bold, or minimal?
- Should it feel playful or polished?
- Is this wall meant to stand out or blend in?
Common gallery wall styles:
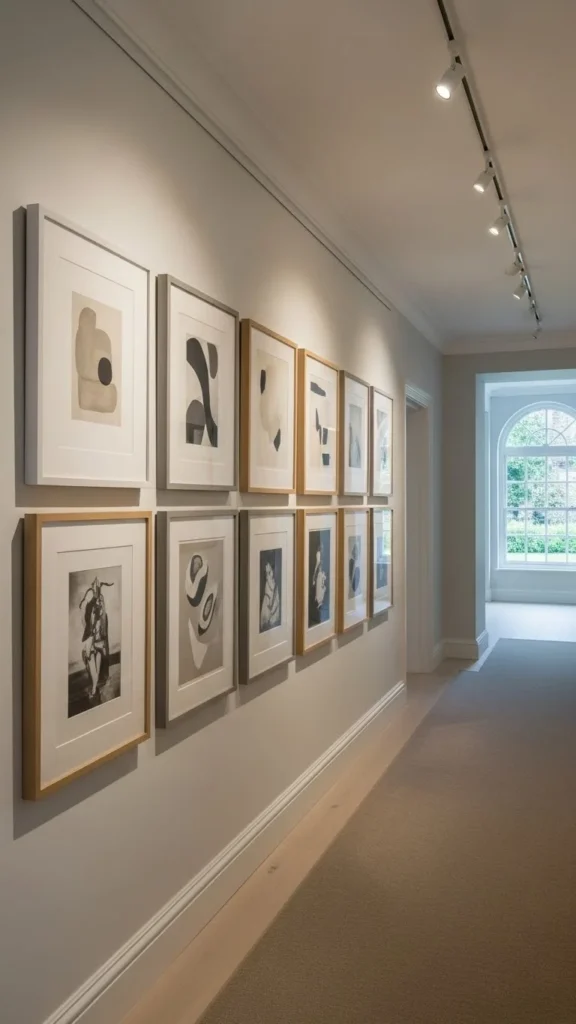
- Modern: black frames, clean lines, abstract art
- Cozy: warm wood frames, personal photos
- Eclectic: mixed colors, sizes, and textures
- Minimal: neutral tones, lots of breathing space
Having a clear vision helps every piece feel like it belongs.
Choose the Right Wall for Maximum Impact
Not every wall needs a gallery—but the right one can completely transform a space.
Best spots for gallery walls:
- Above a sofa or bed
- Along staircases
- Hallways
- Entryways
- Dining room walls
Design tip:
Large, uninterrupted walls work best. Avoid cramped areas where frames will feel squeezed or chaotic.
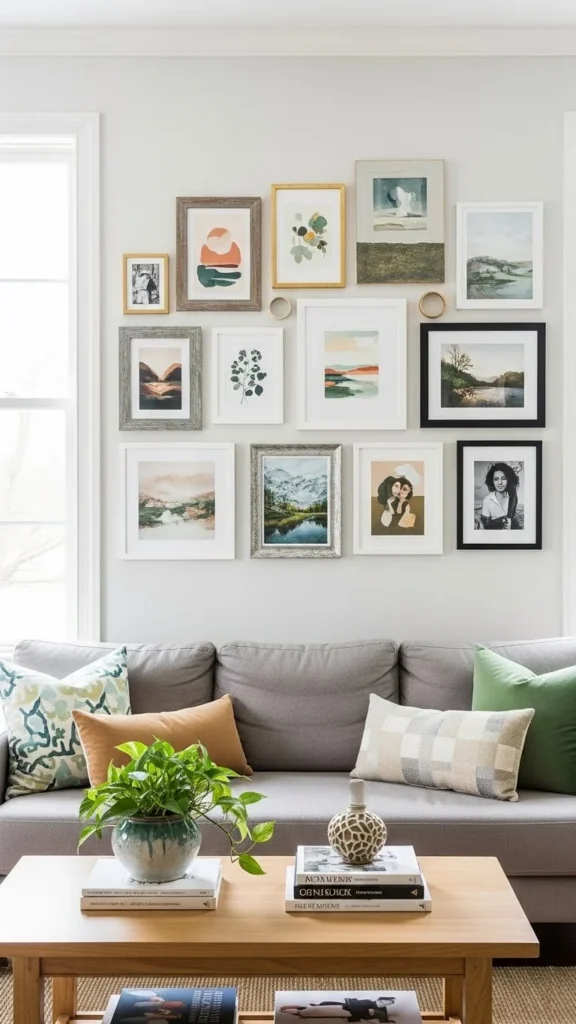
Collect Art That Feels Connected (But Not Identical)
An effortlessly stylish gallery wall isn’t made from random art—it’s curated.
What to include:
- Art prints or illustrations
- Personal photos
- Quotes or typography
- Small mirrors or wall objects
- Minimal line drawings
Ways to keep it cohesive:
- Stick to a color palette (2–3 main colors)
- Repeat similar frame finishes
- Mix sizes, but keep styles complementary
You want variety without visual noise.
Plan the Layout Before You Hang Anything
This is where most gallery walls go wrong—and where designers never skip a step.
Before hanging:
- Lay all pieces on the floor
- Try different arrangements
- Take photos to compare layouts
Popular layout options:
- Grid: symmetrical and clean
- Organic: relaxed and free-flowing
- Centered: one main piece with supporting art around it
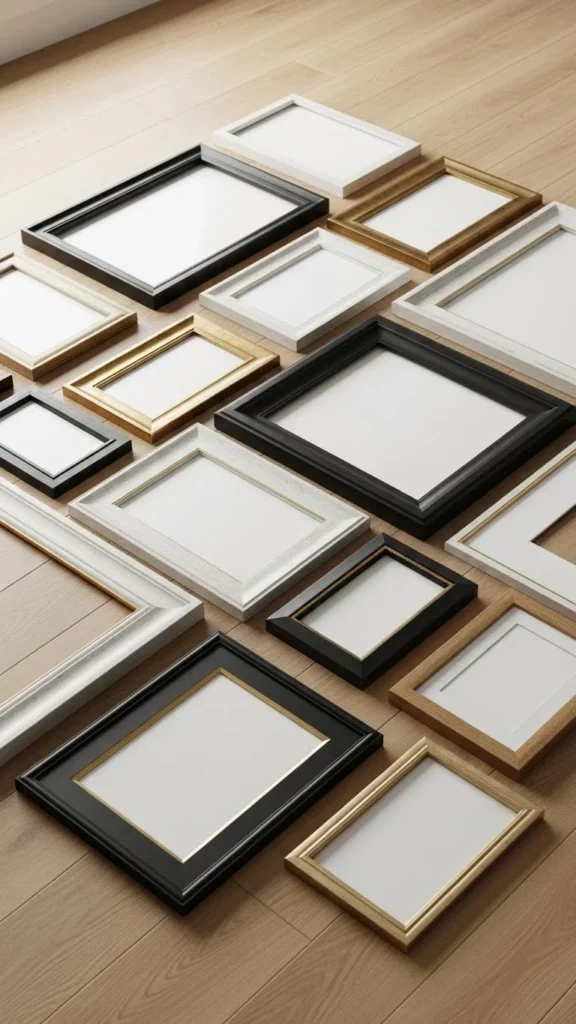
Once it looks balanced on the floor, you’re ready for the wall.
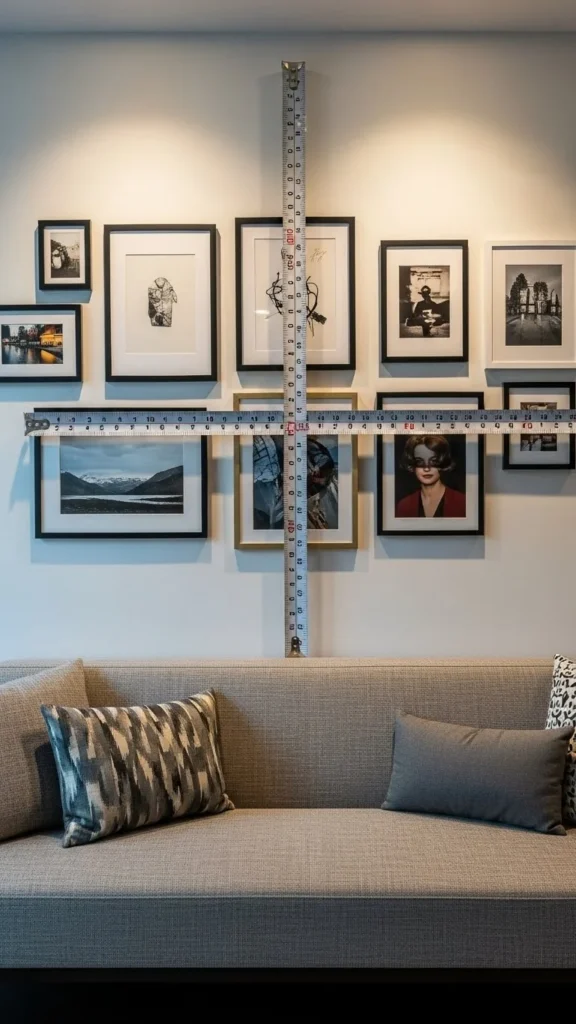
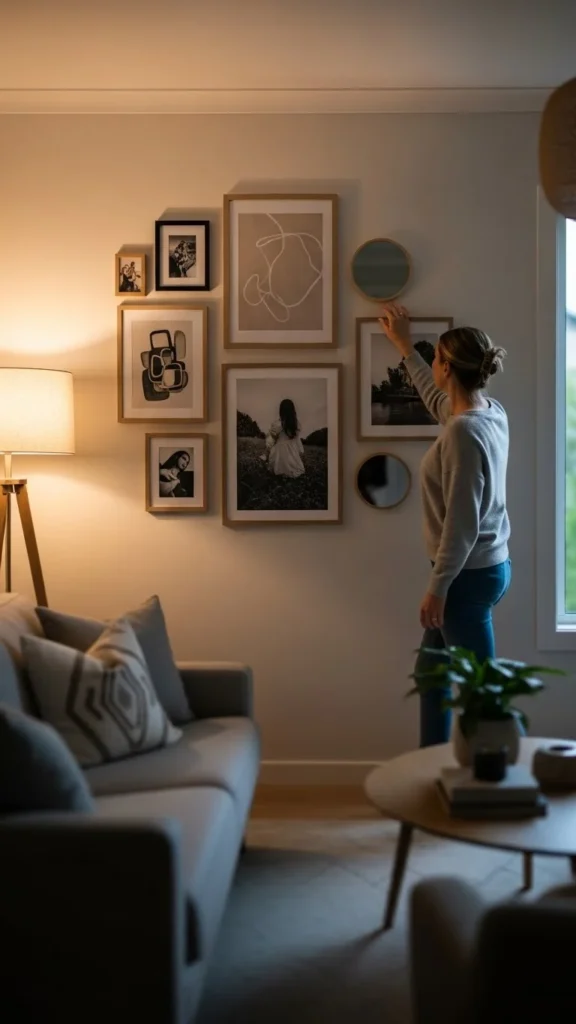
Hang at the Right Height (Designer Rule)
Gallery walls should feel connected to the room—not floating above it.
Follow these guidelines:
- Center the entire gallery at eye level (about 57–60 inches from the floor)
- If above furniture, leave 6–8 inches of space
- Start hanging from the center and work outward
Spacing tip:
Keep 2–3 inches between frames for a clean, intentional look.
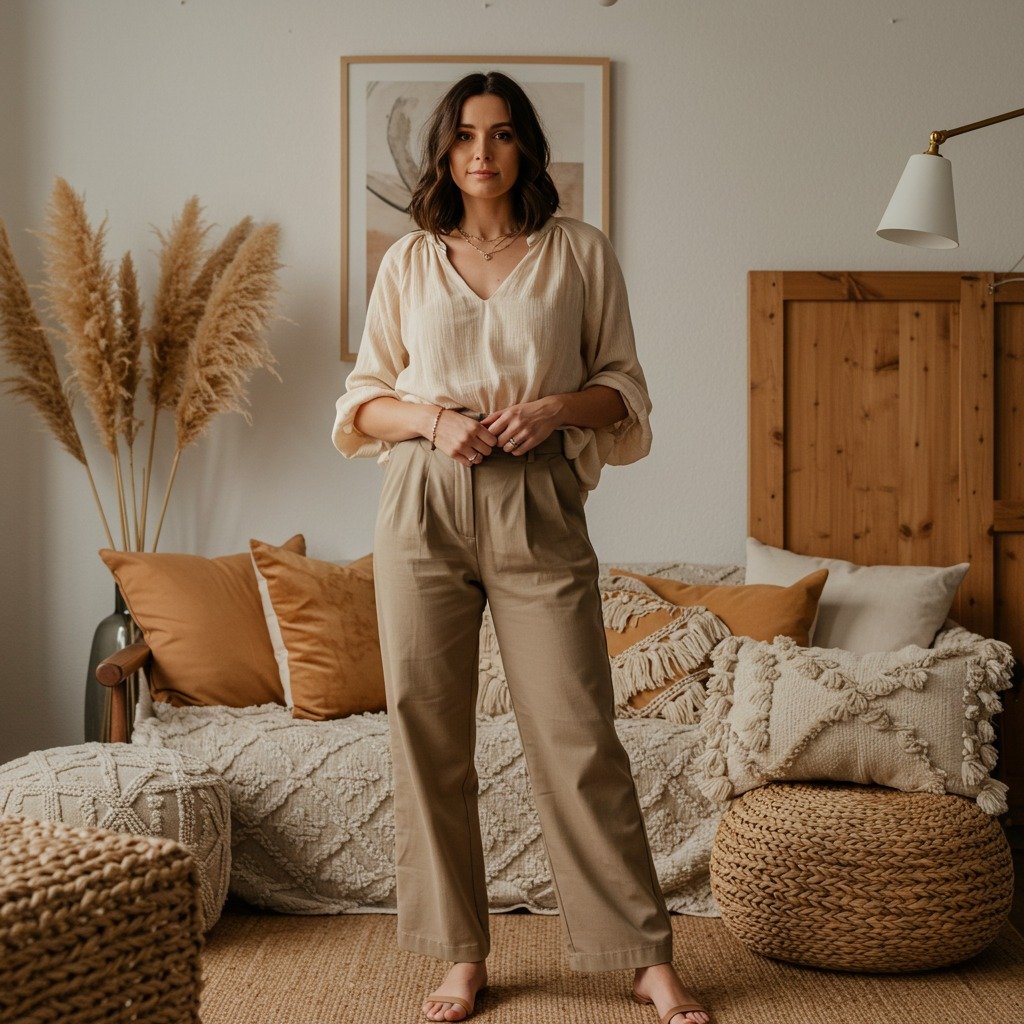
Add Depth With Texture and Layers
What makes gallery walls look high-end? Texture.
Ways to add dimension:
- Mix flat art with textured pieces
- Add a small woven wall hanging
- Include a framed fabric or wallpaper sample
- Layer frames slightly in corners or shelves
Texture keeps the wall from feeling flat and gives it that “effortless” designer feel.
Step Back, Edit, and Trust Your Eye
Once everything is hung, step back and look at the wall as a whole.
Ask yourself:
- Does it feel balanced?
- Is one area too crowded?
- Does it connect visually to the furniture below?
Don’t be afraid to:
- Remove one piece
- Swap artwork
- Adjust spacing slightly
Designers edit constantly—and you should too.
Final Thoughts: Effortless Comes From Intention
The best gallery walls don’t feel forced—they feel personal, thoughtful, and balanced. When you plan first, choose art with meaning, and hang with confidence, your gallery wall will look stylish without trying too hard.
✨ Save this guide for later and start building a gallery wall you’ll love every day!
Leave a Reply