
Peel-and-stick wallpaper has become a favorite for renters, DIY lovers, and anyone craving a quick room refresh. It promises bold style without the long-term commitment—but if installed incorrectly, it can quickly turn into a wrinkled, bubbly mess. The good news? With the right prep and technique, you can get a smooth, professional-looking finish that rivals traditional wallpaper.
Let’s break down exactly how to install peel-and-stick wallpaper like a pro—even if it’s your first time.
Why Peel-and-Stick Wallpaper Is So Popular
Before diving into the how-to, it helps to know why this option is so loved.
Benefits you’ll love:
- No paste or water required
- Easy to remove or reposition
- Budget-friendly compared to traditional wallpaper
- Great for renters and temporary makeovers
It’s perfect for accent walls, small spaces, or even furniture makeovers.
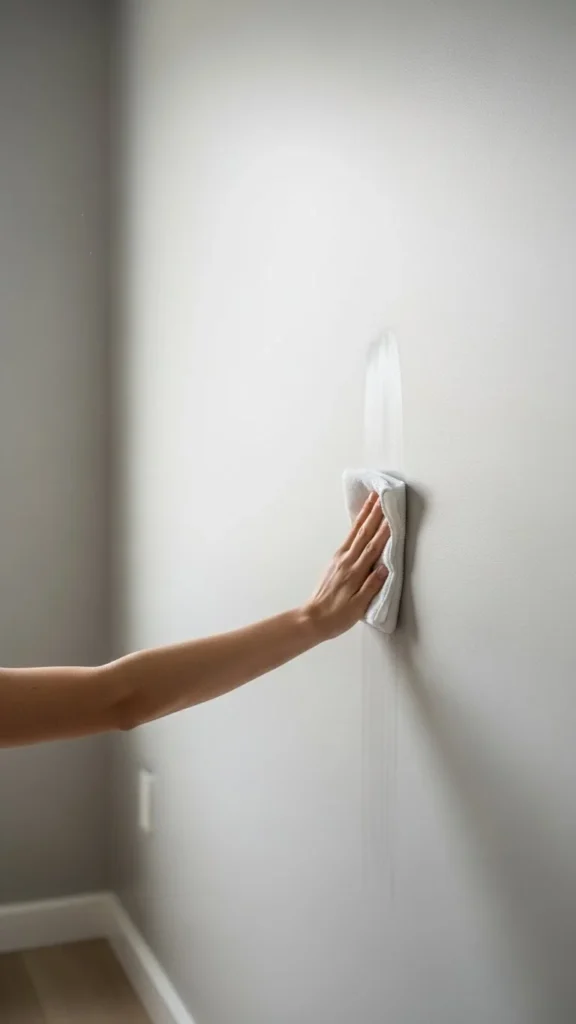
Prep the Wall (This Step Matters More Than You Think)
Most wallpaper problems start with poor wall prep. Don’t skip this step—it’s the secret to a flawless finish.
How to prepare your wall:
- Clean the wall with a damp cloth to remove dust and grease
- Let the wall dry completely
- Fill holes or cracks and sand smooth
- Make sure the surface is flat and matte (not glossy)
Freshly painted walls should cure for at least 2–3 weeks before wallpapering.
Pro tip: Peel-and-stick wallpaper adheres best to smooth, light-textured walls.
Measure, Plan, and Dry-Fit First
A little planning saves a lot of frustration later.
What to do before sticking:
- Measure wall height and width carefully
- Cut wallpaper panels with 2–3 extra inches at top and bottom
- Lay panels on the floor to check pattern alignment
If your wallpaper has a repeating pattern, matching it now prevents visible seams later.
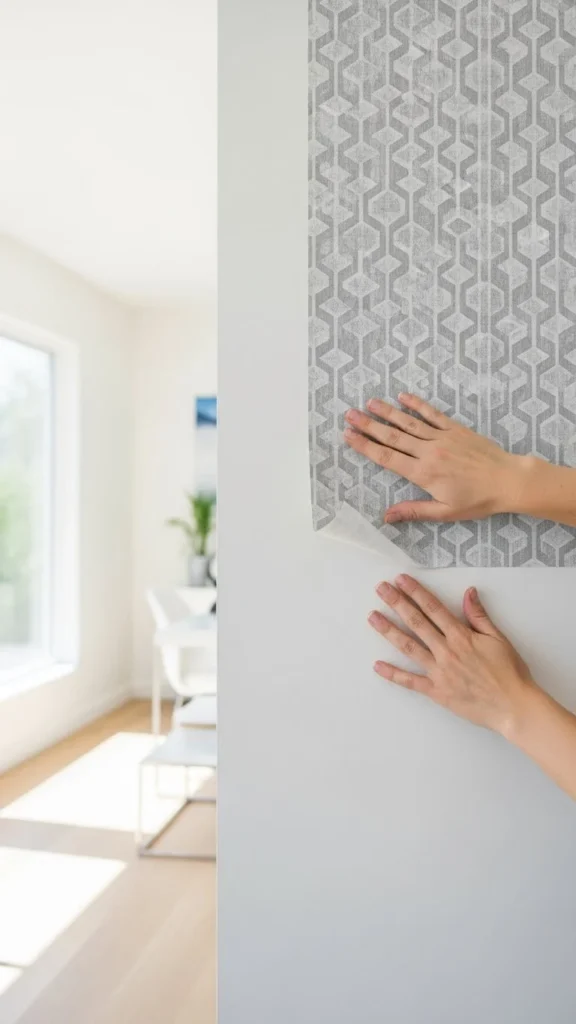
Start From the Top and Go Slow
Now for the fun part—installing the wallpaper.
Step-by-step application:
- Start at the top corner of the wall
- Peel back only 6–12 inches of backing
- Stick the top edge and align carefully
- Smooth downward with a squeegee or cloth
- Slowly peel more backing as you go
Take your time. Rushing leads to crooked lines and bubbles.
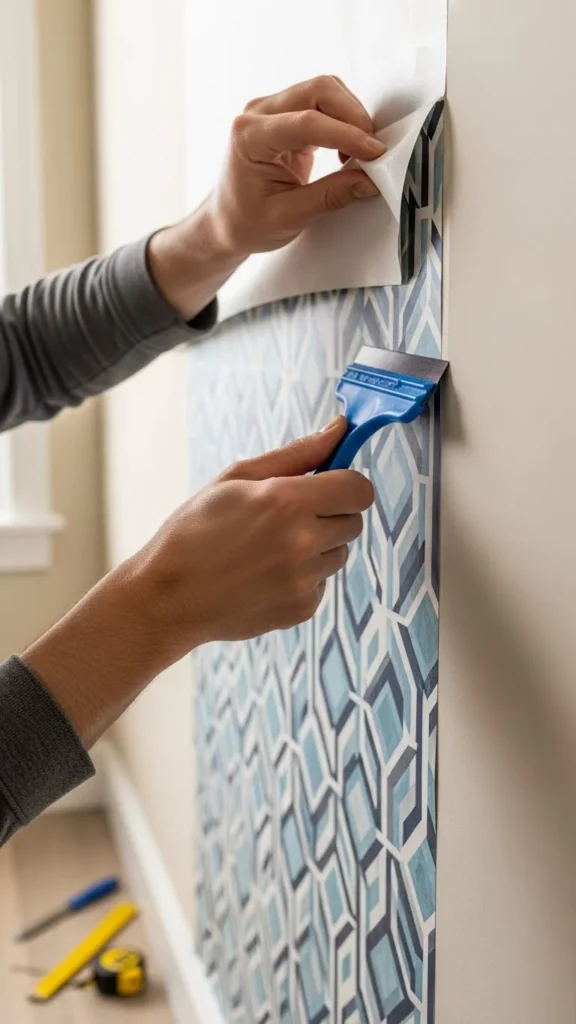
How to Avoid (and Fix) Bubbles and Wrinkles
Even pros get bubbles—what matters is knowing how to fix them.
To prevent bubbles:
- Smooth from the center outward
- Peel backing gradually, not all at once
- Keep tension light but consistent
To fix bubbles:
- Lift the wallpaper gently and reapply
- Smooth air out with a cloth
- For stubborn bubbles, use a pin to release air
Peel-and-stick wallpaper is forgiving—use that to your advantage.
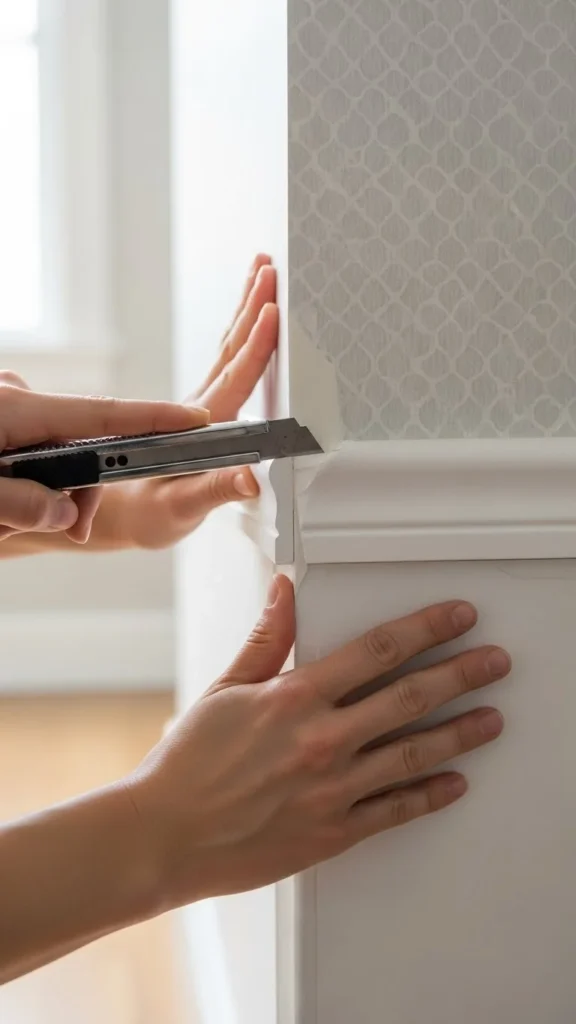
Trim the Edges for a Clean Finish
Once your panel is fully applied, it’s time to clean things up.
How to trim properly:
- Use a sharp utility knife
- Trim excess at ceiling and baseboards
- Hold the blade at a slight angle
- Replace dull blades for clean cuts
Crisp edges instantly make the wallpaper look professionally installed.
Working Around Outlets, Windows, and Corners
These areas can feel intimidating—but they’re manageable.
For outlets:
- Turn off power
- Apply wallpaper over the outlet
- Carefully cut an X shape
- Trim excess neatly
For corners:
- Never wrap a full panel around corners
- Trim and start a new panel on the next wall
- Slight overlaps help hide imperfections
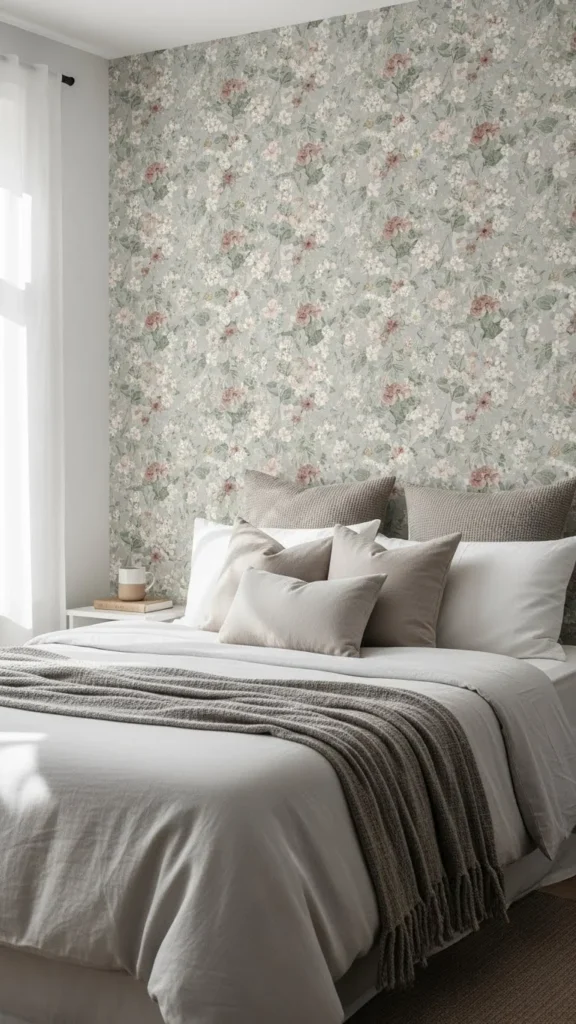
Where Peel-and-Stick Wallpaper Works Best
While versatile, peel-and-stick wallpaper shines in certain spaces.
Best places to use it:
- Accent walls
- Bedrooms and nurseries
- Entryways and hallways
- Home offices
- Behind shelves or headboards
Common Mistakes to Avoid
Avoid these rookie errors for a smooth experience:
- Skipping wall prep
- Applying too fast
- Ignoring pattern alignment
- Using on heavily textured walls
- Cutting panels too short
Slow and steady always wins here.
Final Thoughts: Confidence Is the Secret Ingredient
Installing peel-and-stick wallpaper doesn’t require professional skills—just patience, prep, and a little confidence. With the right approach, you can transform a room in a single afternoon and enjoy a stylish upgrade without commitment.
✨ Your next step: Choose a wall, pick a pattern you love, and start small.
📌 Save this guide for later so you’re ready when inspiration strikes!

Leave a Reply