
Wall sconces are one of those lighting upgrades that instantly make a room feel warmer, more layered, and thoughtfully designed. They add glow without taking up floor space, and when placed correctly, they completely change how a room feels at night.
If you’ve been curious about adding wall sconces but feel intimidated by the installation process, this guide breaks everything down in a clear, beginner-friendly way.
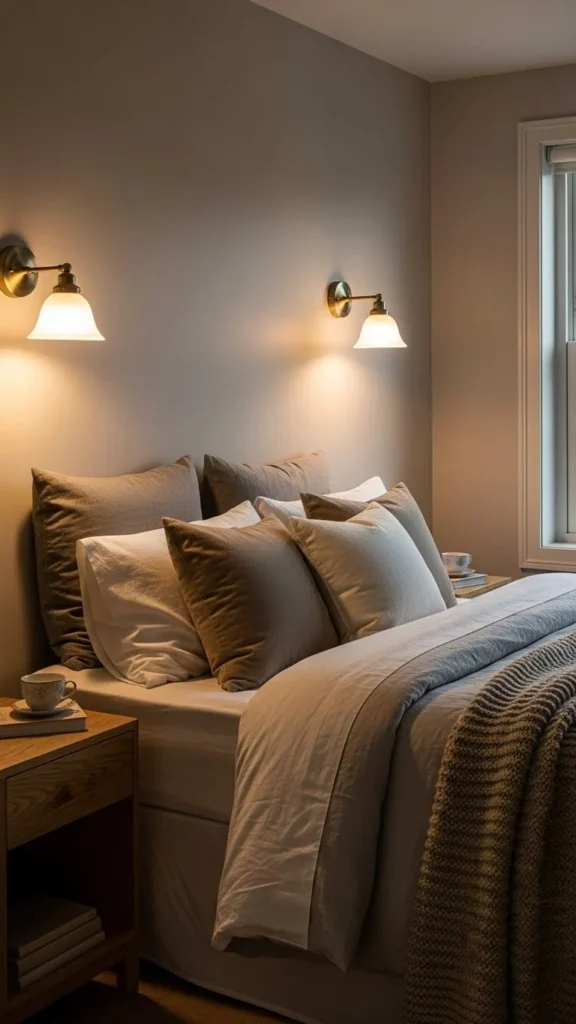
Why Wall Sconces Are Perfect for Ambient Lighting
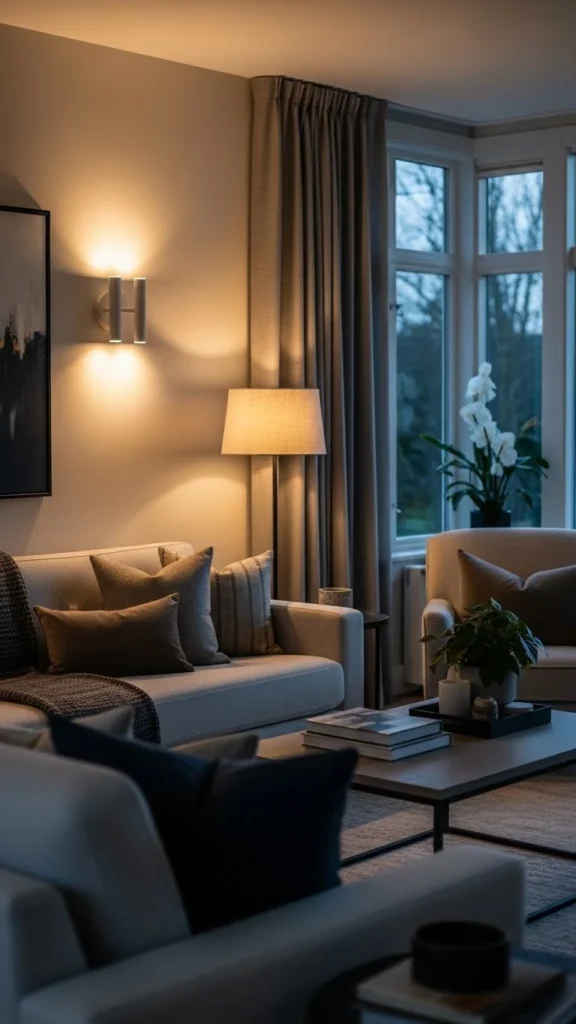
Ambient lighting is the base layer of light in a room. It sets the mood and reduces harsh shadows. Wall sconces are excellent at this because they spread light gently across walls instead of blasting it from above.
Benefits of wall sconces:
- Create a cozy, welcoming glow
- Free up table and floor space
- Add architectural interest
- Balance overhead lighting
They work especially well in living rooms, bedrooms, hallways, and dining areas.
Choosing the Right Wall Sconces
Before installing anything, you need the right fixtures.
Things to consider:
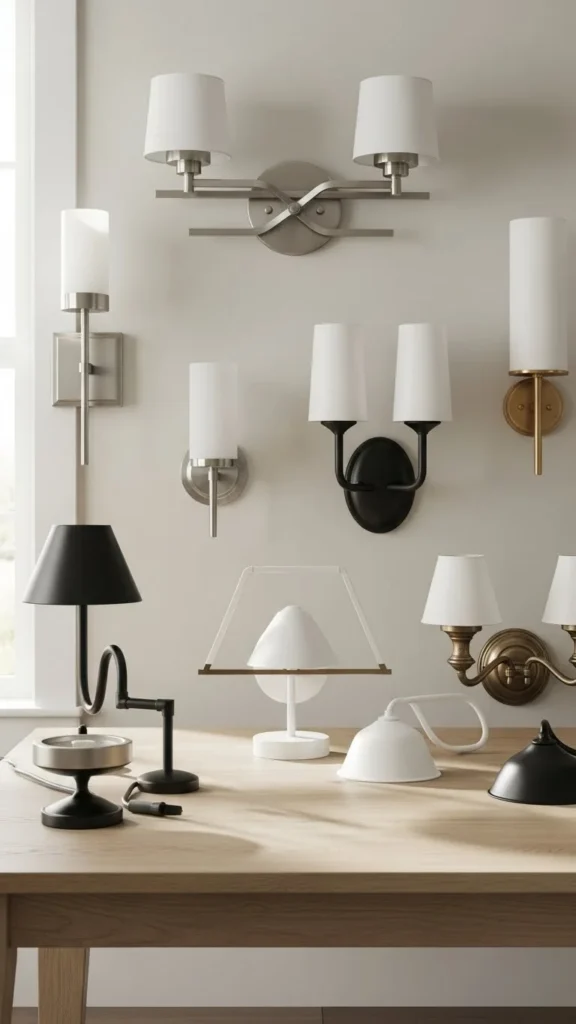
- Style: Modern, traditional, industrial, or minimalist
- Finish: Black, brass, chrome, or matte white
- Light direction: Upward, downward, or both
- Bulb type: Warm LED bulbs work best for ambiance
For softer lighting, choose sconces that diffuse light or bounce it off the wall instead of exposing the bulb directly.
Decide on Placement and Height
Good placement makes all the difference.
General height guideline:
- Mount sconces 60–66 inches from the floor
- If flanking a bed or sofa, keep them symmetrical
Placement ideas:
- On either side of a bed or mirror
- Along a hallway
- Beside a sofa or reading chair
- Framing a fireplace or artwork
Always step back and visualize how the light will spread before drilling.
Hardwired vs Plug-In Sconces
Not all sconces require electrical wiring.
Plug-in sconces
- Easier to install
- No electrician needed
- Cord is visible unless concealed
Hardwired sconces
- Clean, built-in look
- No visible cords
- Requires basic electrical work
If you’re renting or want a weekend project, plug-in sconces are a great starting point.
Step-by-Step: Installing Wall Sconces
Step 1: Turn Off Power (For Hardwired Units)
Safety comes first. Turn off the circuit breaker for the area you’re working on.
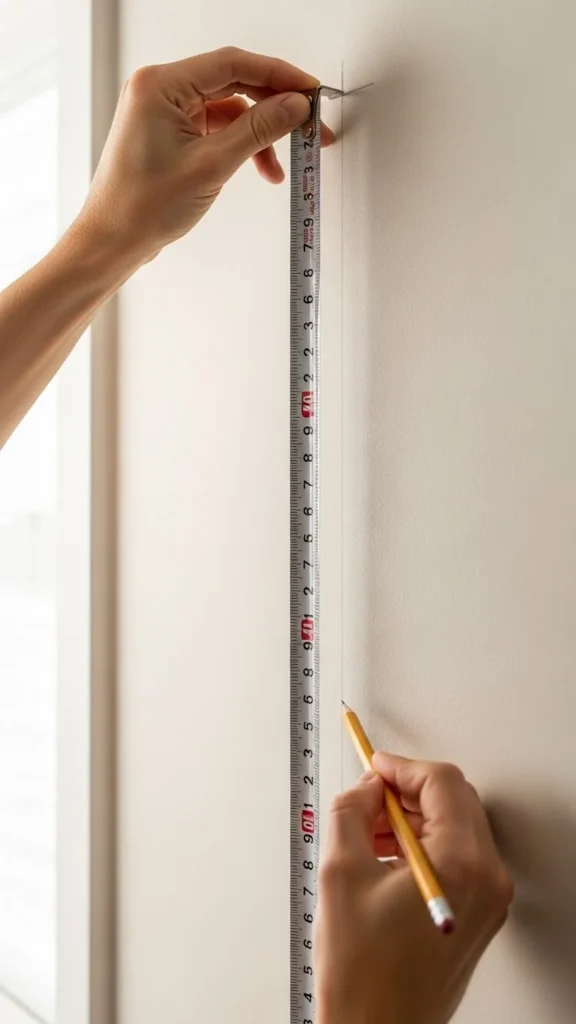
Step 2: Mark and Mount the Bracket
Use a level to ensure the mounting bracket is straight. Secure it firmly to the wall or electrical box.
Step 3: Connect the Wires (Hardwired)
Match wires:
- Black to black
- White to white
- Ground to ground
Secure with wire nuts and tuck neatly into the wall box.
Step 4: Attach the Sconce
Mount the fixture according to manufacturer instructions.
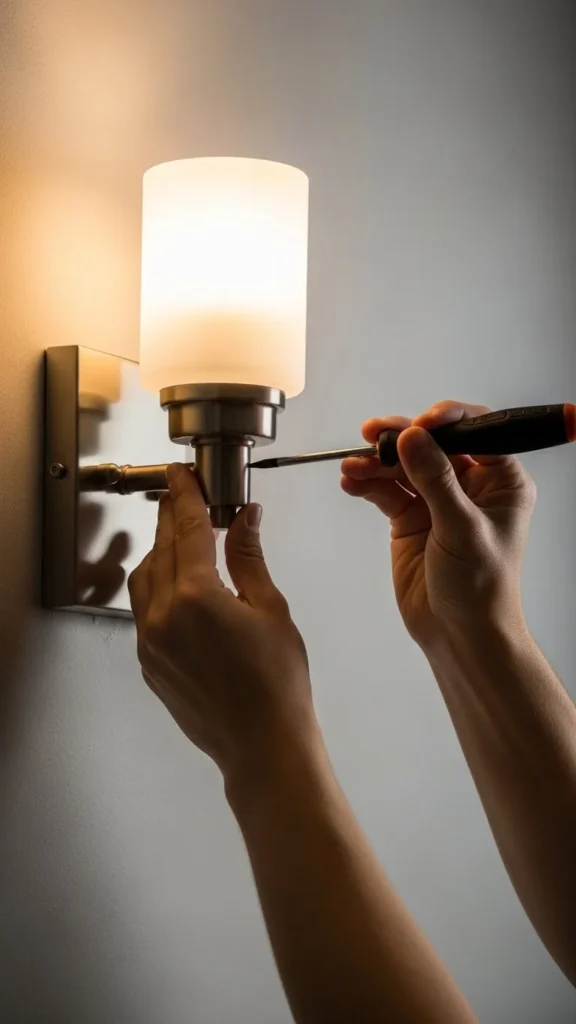
Step 5: Test the Light
Turn the power back on and test before fully tightening everything.
For plug-in sconces, simply mount, plug in, and secure the cord neatly.
Enhancing the Ambient Glow
Installing the sconce is just the beginning.
Ways to improve ambiance:
- Use warm bulbs (2700K–3000K)
- Add dimmer switches
- Pair sconces with floor or table lamps
- Avoid cool white or overly bright bulbs
The goal is soft, layered light—not spotlight intensity.
Styling Around Wall Sconces
Wall sconces should feel like part of the room, not an afterthought.
Styling tips:
- Keep wall decor minimal nearby
- Balance both sides visually
- Let the light wash over texture like wallpaper or plaster
Sconces look especially beautiful against textured walls.
Common Mistakes to Avoid
If your lighting doesn’t feel right, check for these issues:
- Mounting sconces too high
- Using bulbs that are too bright
- Placing lights without symmetry
- Forgetting dimmer controls
Small adjustments can make a big difference.
Final Takeaway
Wall sconces are one of the easiest ways to elevate your home’s lighting and atmosphere. With thoughtful placement, the right bulb choice, and simple installation steps, you can create a warm, inviting glow that feels intentional and stylish.
Take your time, plan your layout, and trust the process.
Save this guide for later and upgrade your ambient lighting with wall sconces this weekend!

Leave a Reply