
If you love switching up your home décor but don’t love the cost, mess, or commitment of paint and wallpaper, vinyl wall decals might be your new best friend. They’re affordable, renter-friendly, and surprisingly versatile. With the right approach, you can refresh a room in under an hour—no tools, no fumes, no stress.

In this guide, I’ll walk you through exactly how to use vinyl wall decals for quick style changes, from choosing the right design to applying and removing them cleanly.
Why Vinyl Wall Decals Are a Game Changer
Vinyl wall decals are thin adhesive designs that stick directly onto painted walls, glass, or smooth surfaces. Unlike wallpaper, they don’t require paste or precision alignment across an entire wall.
Why people love them:
- Budget-friendly compared to paint or wallpaper
- Easy to apply and remove
- Perfect for renters and temporary spaces
- Huge variety of styles (florals, quotes, geometrics, kids’ themes)
They’re ideal for seasonal décor, accent walls, or experimenting with trends without long-term commitment.
Choose the Right Decal Style for Your Space
Before buying, think about the mood you want to create. Vinyl decals come in everything from subtle textures to bold statement pieces.
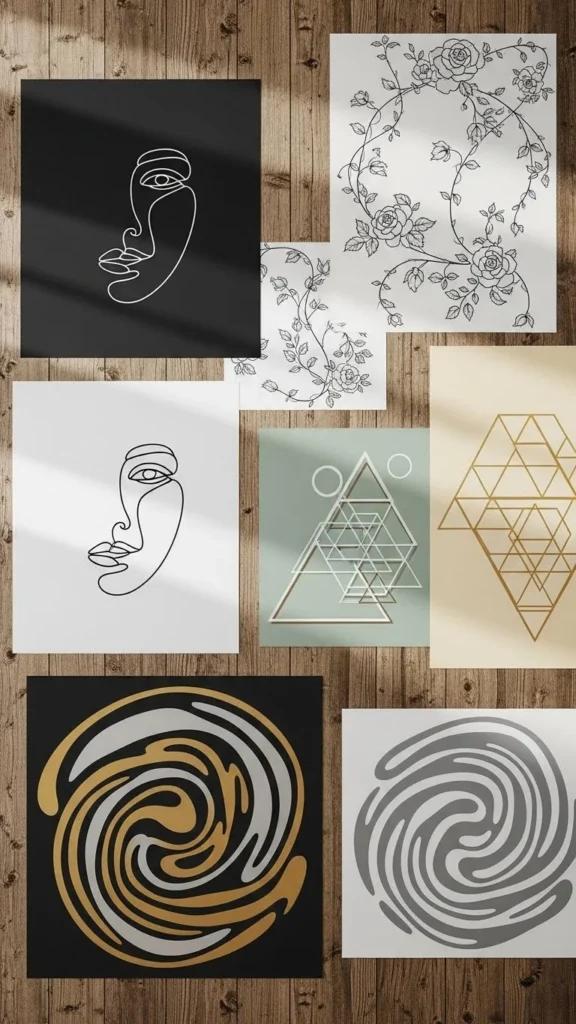
Quick style ideas:
- Minimalist rooms: Line art, arches, or small repeating patterns
- Boho spaces: Floral vines, leaves, sun or moon motifs
- Kids’ rooms: Animals, stars, clouds, or playful illustrations
- Modern homes: Geometric shapes or abstract forms
Pro tip: Stick to one main theme per wall to avoid visual clutter.
Prep Your Wall for Best Results
Skipping prep is the fastest way to end up with peeling edges or uneven placement.
Before applying decals:
- Wipe the wall with a dry or slightly damp cloth
- Make sure the surface is smooth and dust-free
- Avoid freshly painted walls (wait at least 2–3 weeks)
A clean surface ensures the adhesive bonds properly and looks smooth.
Plan Your Layout Before Sticking
This step saves so much frustration later. Vinyl decals usually allow for repositioning, but planning ahead makes everything easier.
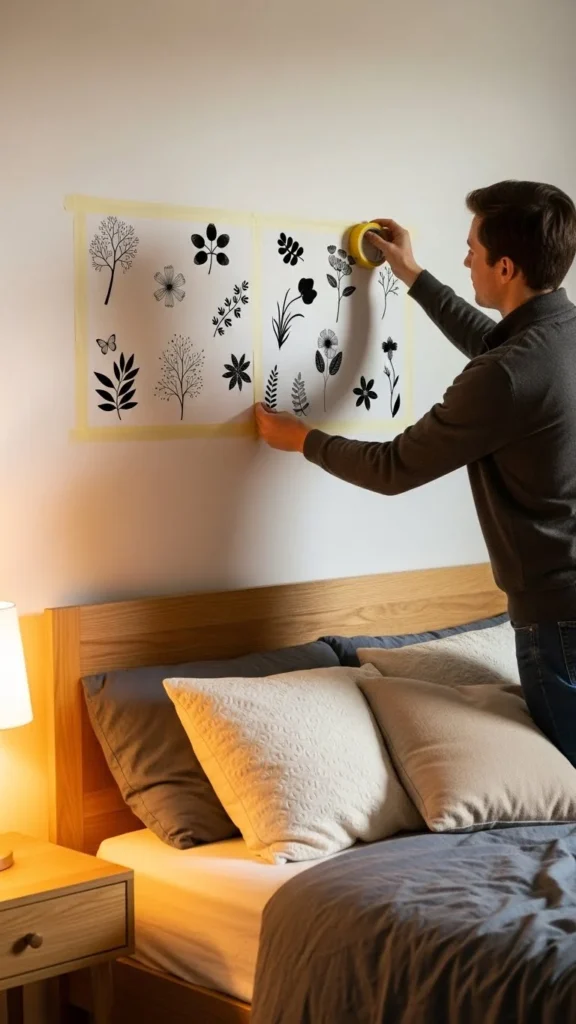
Easy planning tips:
- Use painter’s tape to mock up placement
- Step back and view from different angles
- Start from the center and work outward
- For multiple decals, keep spacing consistent
Taking five extra minutes here can make the final look feel intentional and polished.
How to Apply Vinyl Wall Decals Smoothly
Application is simpler than it looks. Most decals come with backing paper and transfer film.
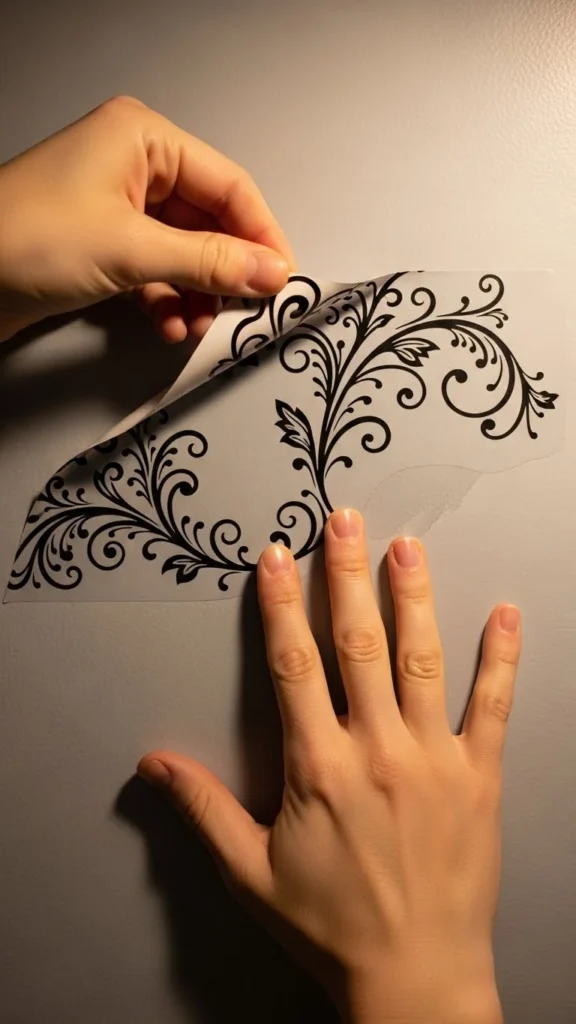
Basic application steps:
- Peel the backing paper slowly
- Stick the decal lightly to the wall
- Smooth from the center outward with your hand or a soft cloth
- Gently remove the transfer film
If bubbles appear, don’t panic. Smooth them out with gentle pressure or lift and reapply if needed.
Use Decals for Fast Room Makeovers
Vinyl wall decals aren’t just for walls. Think creatively.
Quick style upgrades:
- Above a bed instead of a headboard
- Around mirrors for a custom frame effect
- On stair risers or entryway walls
- In bathrooms for instant personality
They’re especially great for seasonal refreshes—swap florals for winter motifs or playful designs for more neutral ones as your style changes.
How to Remove or Change Decals Without Damage
One of the biggest benefits is how easy they are to remove.
Removal tips:
- Peel slowly from one corner
- Use gentle heat from a hairdryer if needed
- Avoid pulling too fast to protect paint
Most quality decals won’t leave residue, making them perfect for rentals or frequent décor updates.
Final Thoughts
Vinyl wall decals are one of the easiest ways to refresh your home without commitment. With a little planning and the right design, you can transform a space in minutes and change it again whenever inspiration strikes.
If you love quick, affordable décor ideas like this, save this guide for later and try a vinyl wall decal update in your favorite room this week.

Leave a Reply