
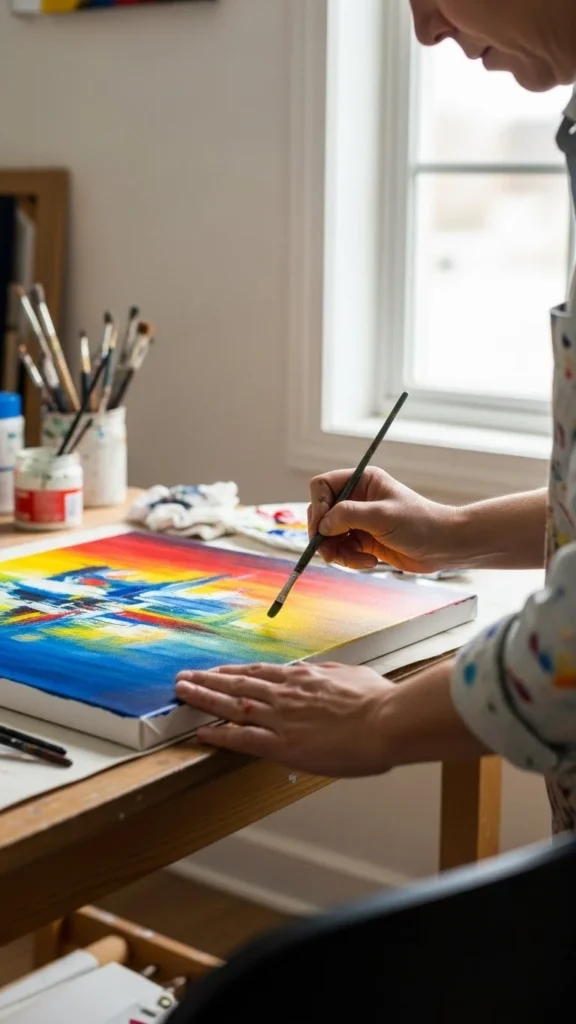
Custom wall art can completely change how a room feels—but buying large, stylish pieces can get expensive fast. The good news? You can make canvas wall art at home that looks polished, modern, and store-bought with just a few smart techniques. No art degree required.
This guide walks you through the process step by step, from choosing the right materials to finishing details that make all the difference.
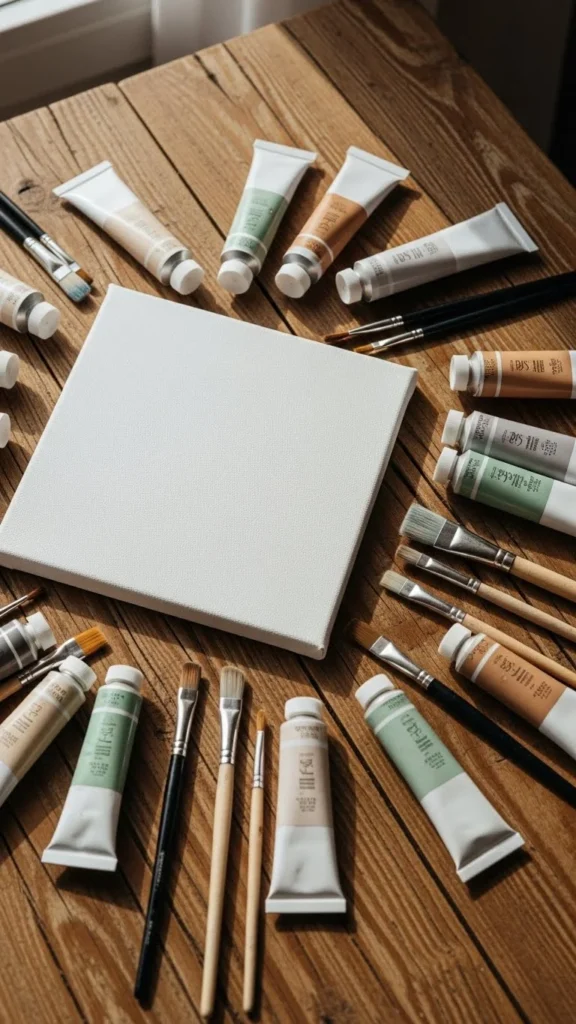
Start With the Right Canvas (This Matters More Than You Think)
Not all canvases are created equal. Thin, flimsy canvases can warp or look cheap once they’re on the wall.
What to look for:
- Gallery-wrapped canvases (thicker edges)
- Neutral or white pre-primed surfaces
- Sizes that fit your space (large canvases make a bigger impact)
Pro tip: Larger art almost always looks more expensive. Even simple designs feel elevated when scaled up.
Choose a Color Palette That Feels Intentional
Store-bought art usually sticks to a tight color story. Too many colors can make DIY art look messy.
Easy color palette ideas:
- Warm neutrals (cream, beige, soft brown)
- Earthy tones (clay, olive, muted rust)
- Black, white, and one accent color
Limit yourself to 2–4 colors. This keeps the final piece calm and cohesive.
Pick an Art Style That’s Hard to Mess Up
Some styles naturally look more professional—even when they’re simple.
Beginner-friendly styles:
- Abstract color blocking
- Soft brushstroke landscapes
- Minimal line art (using paint pens or thin brushes)
- Textured neutral art with subtle movement
If you’re unsure, abstract art is your safest bet. Imperfections often add character rather than flaws.
How to Paint Without Overthinking It
The biggest DIY mistake? Trying too hard to make it “perfect.” Store-bought art often feels loose and confident.
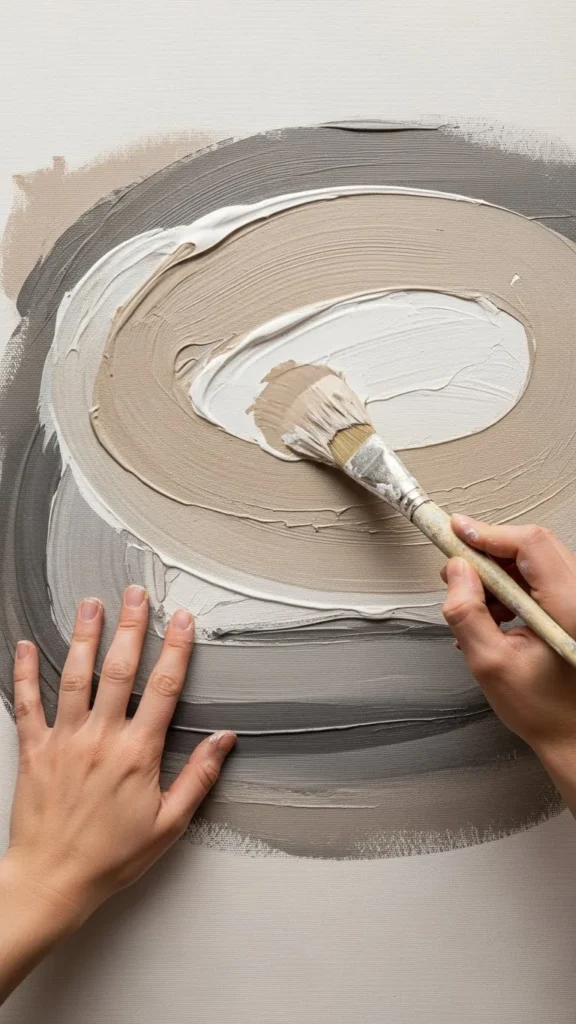
Simple painting tips:
- Start with a base coat and let it dry
- Use wide brushes or a palette knife
- Step back often to check balance
- Stop before you think you’re “done”
Less layering usually looks more modern than overworked details.
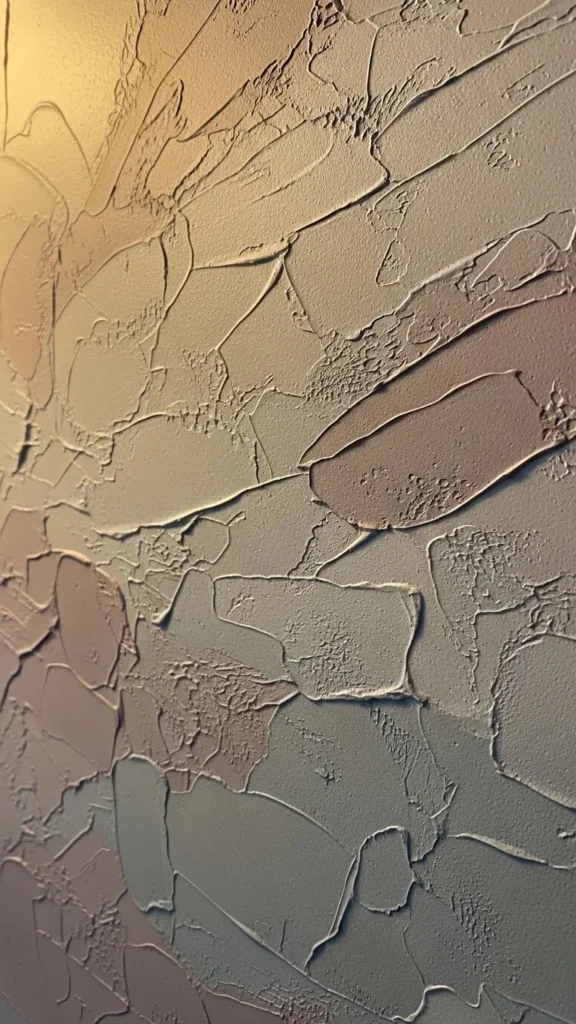
Add Texture for a High-End Look
Texture instantly upgrades canvas art and gives it that gallery feel.
Easy ways to add texture:
- Mix baking soda or joint compound into acrylic paint
- Use a putty knife for raised strokes
- Dab paint with a sponge instead of brushing
Texture reflects light differently, which makes even monochrome art feel rich and dimensional.
Let It Dry (Seriously—Wait)
Rushing the drying process can ruin all your hard work.
Drying tips:
- Lay canvases flat to prevent drips
- Let each layer fully dry before adding more
- Avoid humid rooms if possible
Once dry, assess the piece from across the room. If it looks good from a distance, you’re on the right track.
Finish the Edges Like a Pro
This is one of the most overlooked steps—and one of the most important.
Edge-finishing options:
- Paint edges a solid neutral color
- Wrap the design slightly around the sides
- Use black or white for a gallery look
Clean edges instantly make the piece feel professionally made.
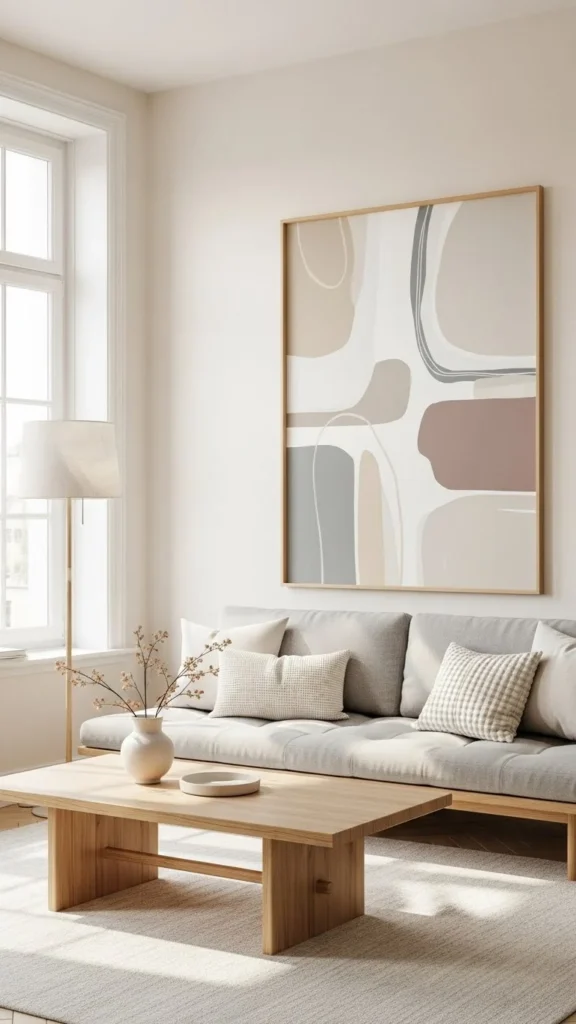
Style It the Way Stores Do
How you display your canvas matters just as much as how you paint it.
Styling ideas:
- Lean large canvases on shelves or floors
- Hang art slightly lower than eye level
- Pair with simple décor (vases, plants, books)
Give your artwork breathing room. Crowding it with too many accessories can cheapen the look.
Final Takeaway
Making canvas wall art that looks store-bought isn’t about being perfect—it’s about being intentional. With the right canvas, a limited color palette, and a few finishing touches, your DIY art can look just as polished as something from a high-end home store.
✨ Save this DIY for later and try creating your own canvas wall art this weekend—you might surprise yourself with how good it looks.
Leave a Reply