
Macrame wall hangings are one of those decor pieces that instantly make a space feel warm, relaxed, and thoughtfully styled. The best part? You don’t need fancy tools or years of crafting experience to make one. With a little cord, some patience, and a cozy afternoon, you can create a boho-style wall hanging that looks straight out of a boutique.
This guide walks you through everything step by step, in a beginner-friendly way, so you can confidently make your own macrame wall hanging at home.
What You Need to Get Started
Before tying your first knot, gather a few simple supplies. Most of these are affordable and easy to find online or at local craft stores.
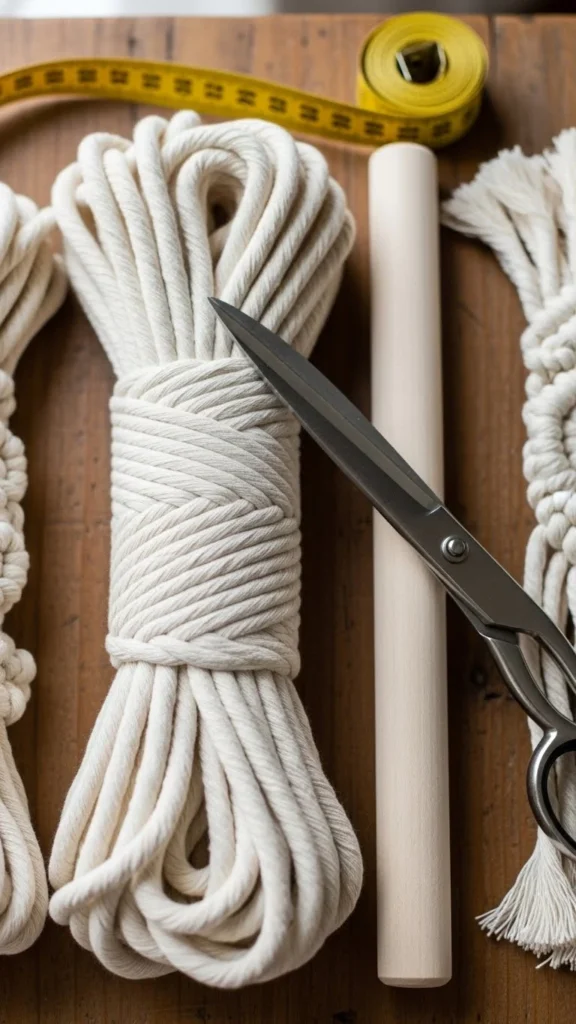
Basic supplies:
- Cotton macrame cord (3–5 mm is ideal for beginners)
- Wooden dowel, stick, or branch
- Sharp scissors
- Measuring tape
- Comb or brush (optional, for fringes)
Helpful tips:
- Start with cotton cord. It’s soft, forgiving, and easy to knot.
- Choose neutral colors like cream, beige, or soft gray for a true boho feel.
- Cut more cord than you think you’ll need. Extra length is better than coming up short.
Understanding the Essential Macrame Knots
Macrame looks intricate, but most wall hangings are made using just a few basic knots. Once you learn these, the rest becomes much easier.
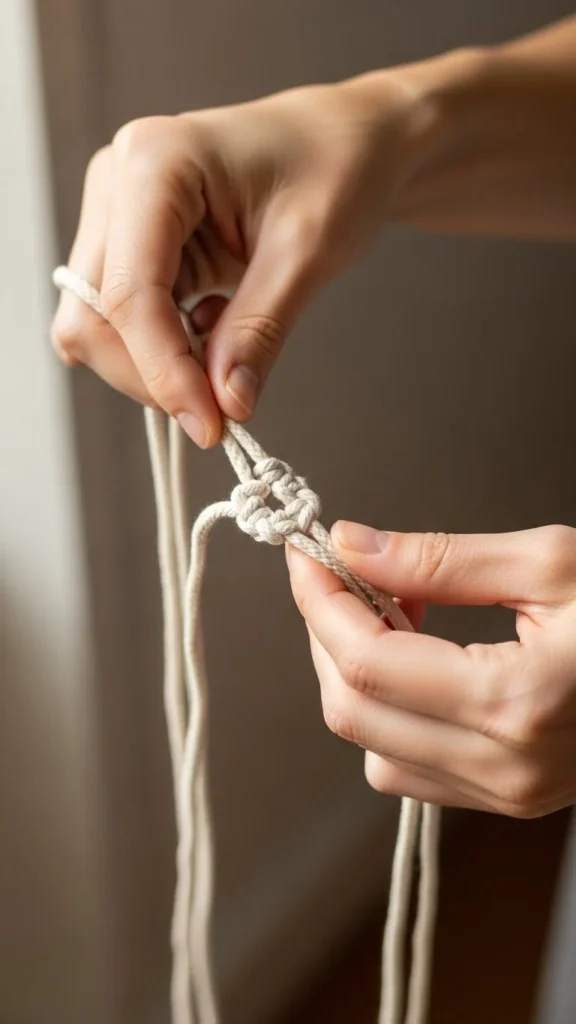
Beginner-friendly knots to know:
- Lark’s Head Knot – Used to attach cords to the dowel.
- Square Knot – The most common decorative knot.
- Half Knot – Creates a twisted or spiral effect.
Practice these knots a few times before starting your project. Even five minutes of practice can make your final piece look more polished.
Step-by-Step: Making a Simple Macrame Wall Hanging
Now comes the fun part—actually creating your wall hanging.
Step 1: Attach the Cords
Fold each cord in half and secure it to the dowel using a Lark’s Head Knot. Line them up evenly.
Tip: Keep the cords snug but not overly tight. This makes adjusting easier later.
Step 2: Create Your Pattern
Start tying Square Knots across the cords. You can:
- Work straight across for a clean, modern look
- Alternate rows for a diamond or wave effect
- Leave small gaps for a lighter, airy design
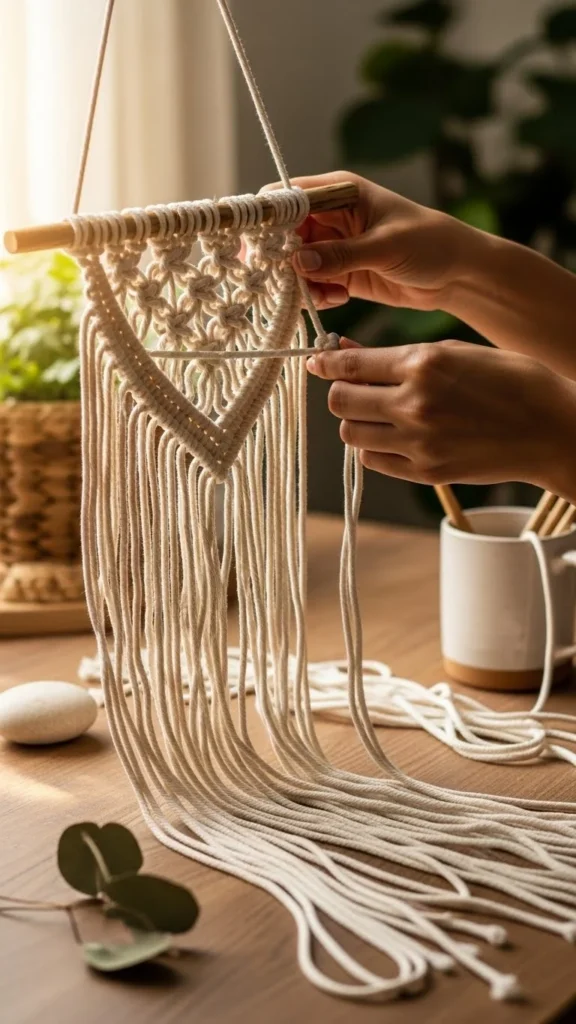
Step 3: Add Texture and Interest
Mix things up by adding:
- A row of Half Knots for a spiral
- Uneven knot spacing for an organic feel
- Extra-long fringe sections
There’s no “wrong” pattern. Boho style is all about relaxed creativity.
Shaping, Trimming, and Finishing Touches
Once your knots are complete, it’s time to refine the look.
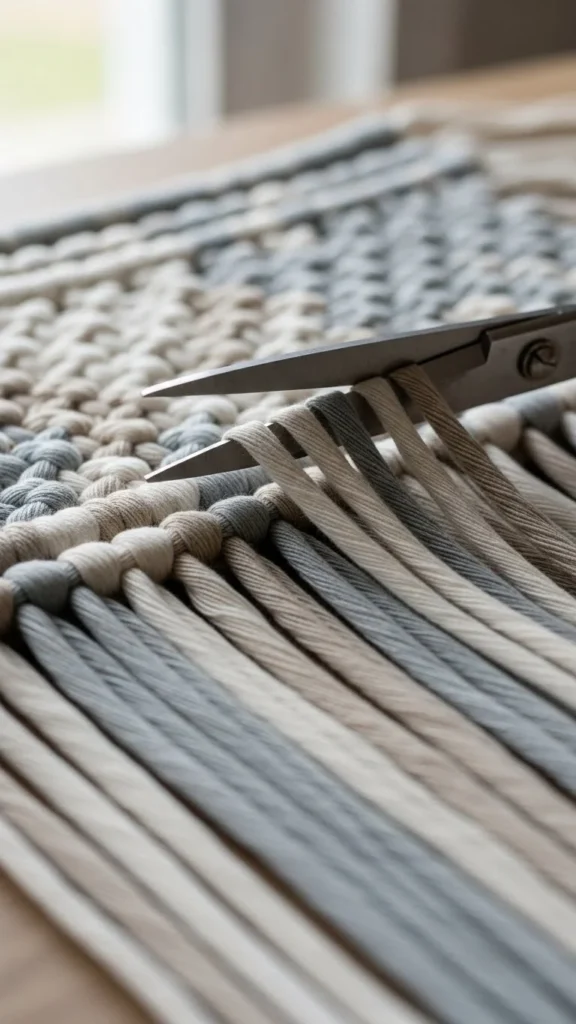
Finishing tips:
- Comb out the fringe gently for a soft, flowy finish.
- Trim the bottom into a V-shape, straight line, or layered curve.
- Step back often while trimming to keep things even.
If your wall hanging looks slightly uneven, don’t worry. Handmade charm is part of the appeal.
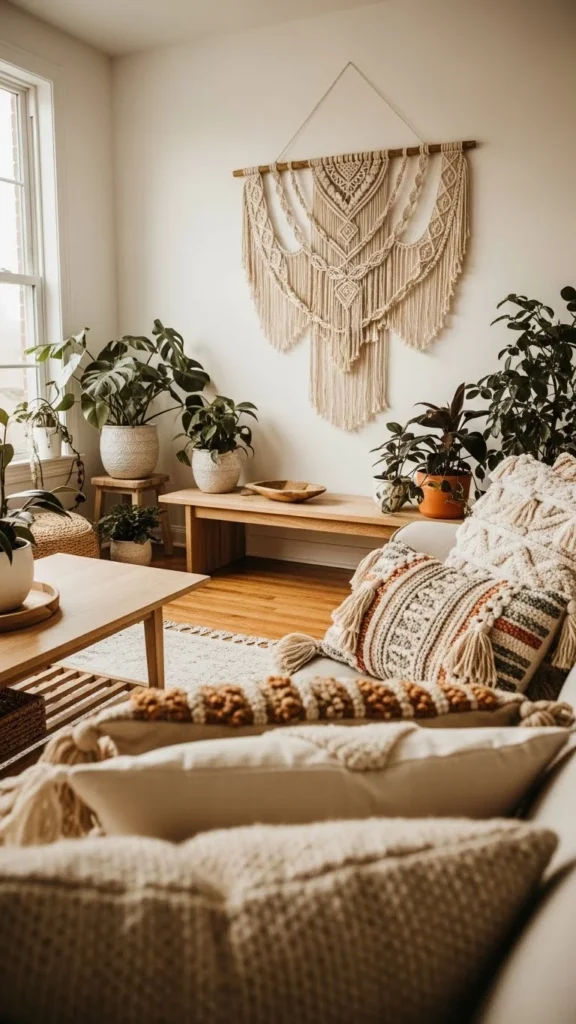
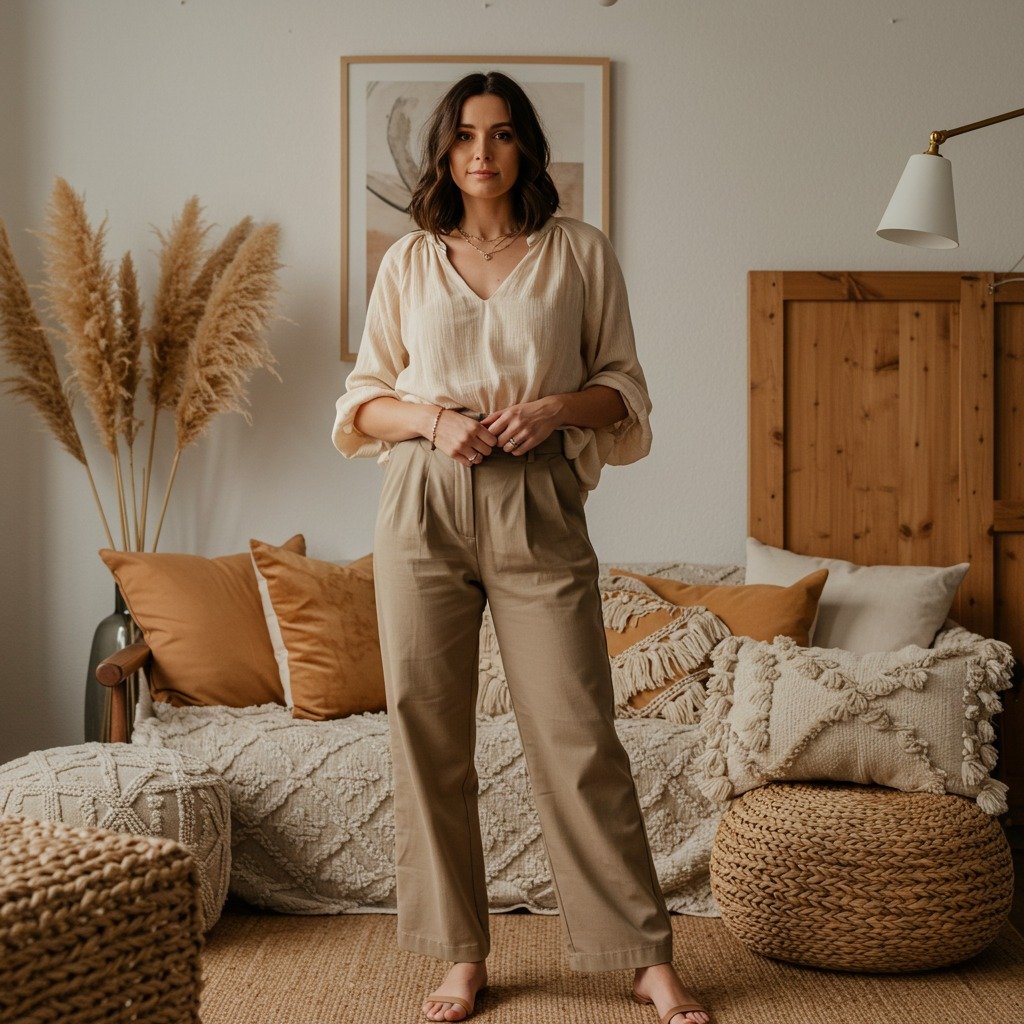
Styling Your Macrame Wall Hanging at Home
A macrame piece can work in almost any room if styled thoughtfully.
Great places to hang it:
- Above a bed or sofa
- In an entryway for a welcoming touch
- In a nursery or reading nook
- Paired with plants for extra boho vibes
Style tips:
- Stick to warm wood tones and soft textiles nearby.
- Layer with framed art or mirrors for depth.
- Keep the wall color neutral so the texture stands out.
Common Beginner Mistakes (and How to Avoid Them)
If your first attempt doesn’t look perfect, that’s normal.
Watch out for:
- Cutting cords too short
- Pulling knots unevenly
- Overcomplicating the design
Start simple. Your second or third piece will always look better than the first.
Final Thoughts
Making your own macrame wall hanging is creative, relaxing, and incredibly rewarding. It’s a budget-friendly way to add personality to your space while learning a timeless craft.
Once you finish your first piece, you may find yourself planning the next one already.
Save this tutorial for later and try your own macrame wall hanging this weekend!
Leave a Reply